Launch a Hosted Crypto Checkout on Webflow Without a Developer

Yes, you can accept crypto on Webflow by connecting a third-party crypto payment gateway and embedding its hosted checkout, or by redirecting your cart to a payment link. Webflow has no native crypto checkout field, so the gateway does the heavy lifting. The quickest path: generate a hosted checkout or payment link from your gateway account, then paste that link into a Webflow button or drop the embed code into an Embed element.
TL;DR:
- Accepting crypto on Webflow requires third-party gateways to generate hosted checkouts, payment links, or embed scripts, as Webflow lacks native crypto support.
- Use sandbox mode to test payment flow and webhook endpoints before going live, ensuring HTTPS enforcement and correct content security policies for script loading.
- Never store API keys or webhook secrets in Webflow site settings or custom code and always verify webhook signatures on a secure serverless backend.
- Hosted checkout pages, which handle sensitive data off-site, qualify for the lowest PCI compliance tier and are recommended over embedded forms.
- For quick setup, use CryptoPayr’s hosted checkout links or payment buttons, and verify webhook reliability with tools before processing real transactions.
Add Crypto Payments Without Developers
CryptoPayr helps Webflow businesses accept over 110 cryptocurrencies through a user-friendly gateway with fees starting at 0.1%.
Explore CryptoPayrTable of Contents
How Do You Actually Accept Cryptocurrency on Webflow?
Webflow was built for design flexibility, not payment processing logic, which is why you won’t find a crypto option buried in its native e-commerce settings. Every workable setup routes through a third party. The real decision is which integration pattern fits your product and your comfort with code.
Four patterns cover almost every use case:
- Hosted checkout or payment links. The gateway generates a page or a URL. You link a Webflow button to it or redirect after cart checkout. Fastest to launch, and because the payment form lives off your domain, you carry almost no PCI exposure.
- Embeddable button or script. You keep the buyer on your Webflow page using an Embed element that loads the gateway’s script. This feels more native, but it means handling secrets and callbacks carefully since more logic touches your site.
- Wallet-based, on-chain flows. For NFT drops or token-gated content, buyers connect a wallet directly and the transaction settles on-chain. ChainScore Labs documents this pattern using Embed elements paired with serverless functions that read blockchain state and reflect it back into Webflow’s CMS.
- Managed commerce bridges. Platforms like Whop connect to Webflow and hand you an entire backend, memberships, payments, and crypto acceptance, without writing custom checkout logic yourself.
If you’re running a straightforward store or SaaS signup page, skip wallet flows entirely. They’re built for token-gated communities and NFT projects, not standard e-commerce. Hosted checkout covers the vast majority of Webflow owners just fine.
Step-by-Step Checklist to Launch Crypto Checkout on Webflow
Getting from zero to a working integration takes less time than most owners expect, usually an afternoon if you’re comfortable with basic embed code.
- Pick your flow and open a gateway account. Decide between hosted checkout, an embedded button, or a payment link, then register with your chosen crypto payment processor.
- Configure settlement and your coin list. Choose which cryptocurrencies you’ll accept and whether payouts settle in crypto or auto-convert to a stablecoin.
- Generate a hosted checkout or payment link and test it in sandbox mode. Never skip this. Sandbox transactions catch broken redirect URLs before a real customer does.
- Add the button or embed code to Webflow. Use the Embed element for scripts, or a standard link element pointed at your payment link. Confirm your site’s Content Security Policy allows the gateway’s script domain and that HTTPS is active site-wide.
- Build a serverless webhook endpoint. This is non-negotiable. Webflow can’t process webhooks natively, so you need a small backend, a Vercel or Cloudflare Worker function works well, to receive payment confirmations, verify signatures, and reconcile orders.
- Log payment IDs and push status updates. Store each transaction ID and update order status either through the Webflow CMS API or an external database, so customers see accurate “paid” or “pending” states.
A working reference for this exact pattern exists in the MakePay Webflow app repository on GitHub, which generates embed markup server-side and keeps merchant keys out of the browser entirely.
Pro Tip: Test your webhook endpoint with a tool like a request bin or a temporary logging function before connecting it to real order logic. Watching the raw payload land helps you catch signature mismatches before they cause silent failures in production.
Security Best Practices for Crypto Payments on Webflow
The single biggest mistake Webflow owners make is putting an API key somewhere Webflow can render it, custom code embeds, page settings, or a client-side script. Webflow’s own security guidance is explicit that secrets don’t belong in anything the browser can read.
A few rules keep the integration sound:
- Never store API keys or webhook secrets in Webflow custom code or site settings.
- Verify every webhook signature on your serverless endpoint, and use idempotency keys so a retried webhook doesn’t double-fulfill an order.
- Favor hosted checkout over embedded card-style forms. Hosted payment pages keep you in a lower PCI compliance tier because sensitive handling happens off your domain, a principle that applies just as well to hosted crypto checkout.
- Run your proxy on Vercel, Cloudflare Workers, or similar, with secrets stored as environment variables, never hardcoded.
Hosted checkout pages that route sensitive data off-site typically qualify for the simplest PCI self-assessment tier (SAQ A), which is the main reason most gateways push merchants toward that pattern rather than embedded forms.
Common Integration Problems and Quick Fixes
Most issues trace back to three causes: a script that can’t load, a webhook that can’t reach you, or a settlement setting nobody checked.
- Hosted checkout won’t load. Check that your site enforces HTTPS everywhere and that your CSP header allows the gateway’s script domain.
- Payments sit in “pending.” Crypto transactions need blockchain confirmations, sometimes minutes, depending on the network. Reflect “pending” distinctly from “paid” in your order status instead of treating them the same.
- Webhooks never arrive. Confirm your endpoint is publicly reachable, check firewall rules, and look for signature mismatches in your server logs.
- Payouts land in the wrong currency. Revisit your gateway’s settlement and auto-conversion settings. This is easy to overlook until the first real payout surprises you.
Where CryptoPayr Fits in This Checklist
CryptoPayr provides hosted checkout, payment links, an API, and webhook tooling compatible with the redirect-or-embed setup Webflow requires, enabling merchants to accept cryptocurrencies with streamlined onboarding.
Three ways to plug it in:
- Paste a hosted payment link straight into a Webflow button, no backend required.
- Use plugin resources if you’re running commerce on a connected platform alongside Webflow.
- Call the API from your own serverless proxy for full control over checkout logic and order reconciliation.
Legal and Compliance Considerations for Crypto Payments
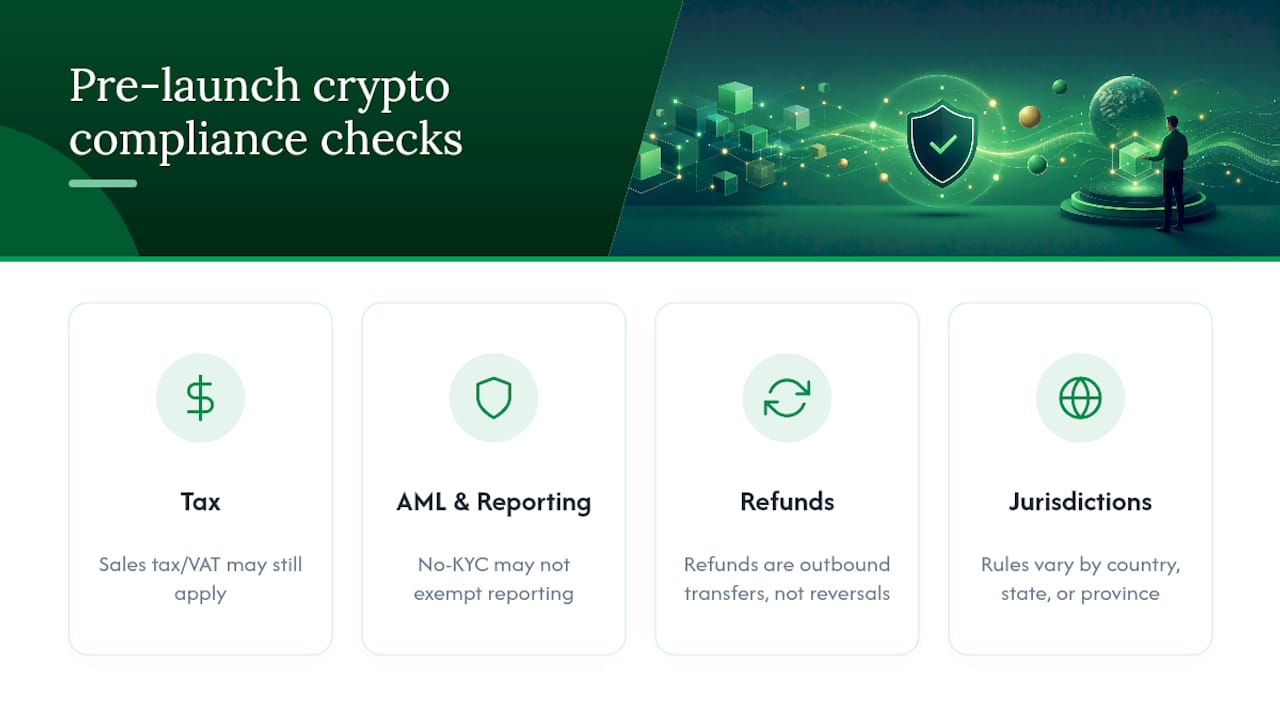
Rules around accepting cryptocurrency vary sharply by country, and sometimes by state or province within a country. Some jurisdictions treat crypto payments like any other sale for tax purposes; others impose specific reporting requirements once transaction volume crosses a threshold. Before you flip the switch on a Webflow store, check how your local tax authority classifies crypto revenue, sales tax or VAT obligations often still apply even though the customer paid in Bitcoin rather than fiat.
Anti-money-laundering expectations differ too. A no-KYC gateway simplifies onboarding for merchants, but that doesn’t exempt your business from your own jurisdiction’s reporting duties if you’re selling regulated goods or operating at a scale that triggers local financial oversight. If you sell into multiple countries, assume each customer’s location may carry its own tax treatment, and build that into your pricing or checkout flow rather than discovering it during an audit.
Refund and chargeback policies also need explicit documentation. Crypto transactions don’t reverse the way card payments do, so your terms of service should state clearly how refunds work, likely as a new outbound transaction rather than a reversal, and what happens if a customer sends funds to the wrong address. None of this is legal advice; talk to an accountant or attorney familiar with digital assets in your specific market before launch, especially if you’re processing meaningful volume.
What Actually Matters When You Launch
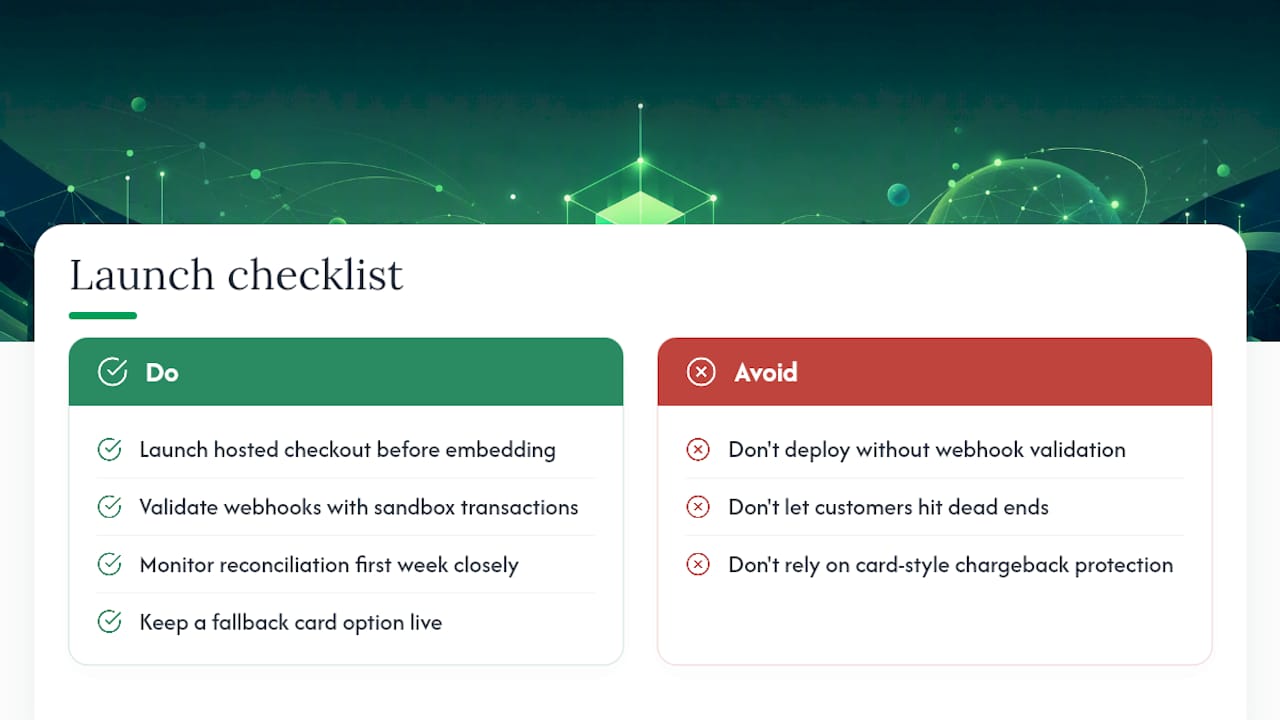
Launch with hosted checkout first, not an embedded form, and validate every webhook against real sandbox transactions before you touch production. Watch reconciliation closely for the first week; that’s where mismatched order statuses surface.
Keep a fallback card option live while you test the crypto flow. Customers should never hit a dead end because a webhook lagged. And write down your refund process before you need it. Chargebacks don’t exist in crypto the way they do with cards, so your documented process is the only safety net you’ll have.
— Dustin
Ready to Add a Crypto Checkout to Webflow?
You’ve seen the pattern: hosted checkout for speed, a serverless proxy for security, and webhook verification to keep orders honest. CryptoPayr builds directly to that pattern, so you’re not stitching together a custom backend just to accept a Bitcoin payment on a Webflow storefront. Fees start at a low rate, onboarding is streamlined without KYC paperwork, and over 110 coins can be supported without the need to write blockchain code.
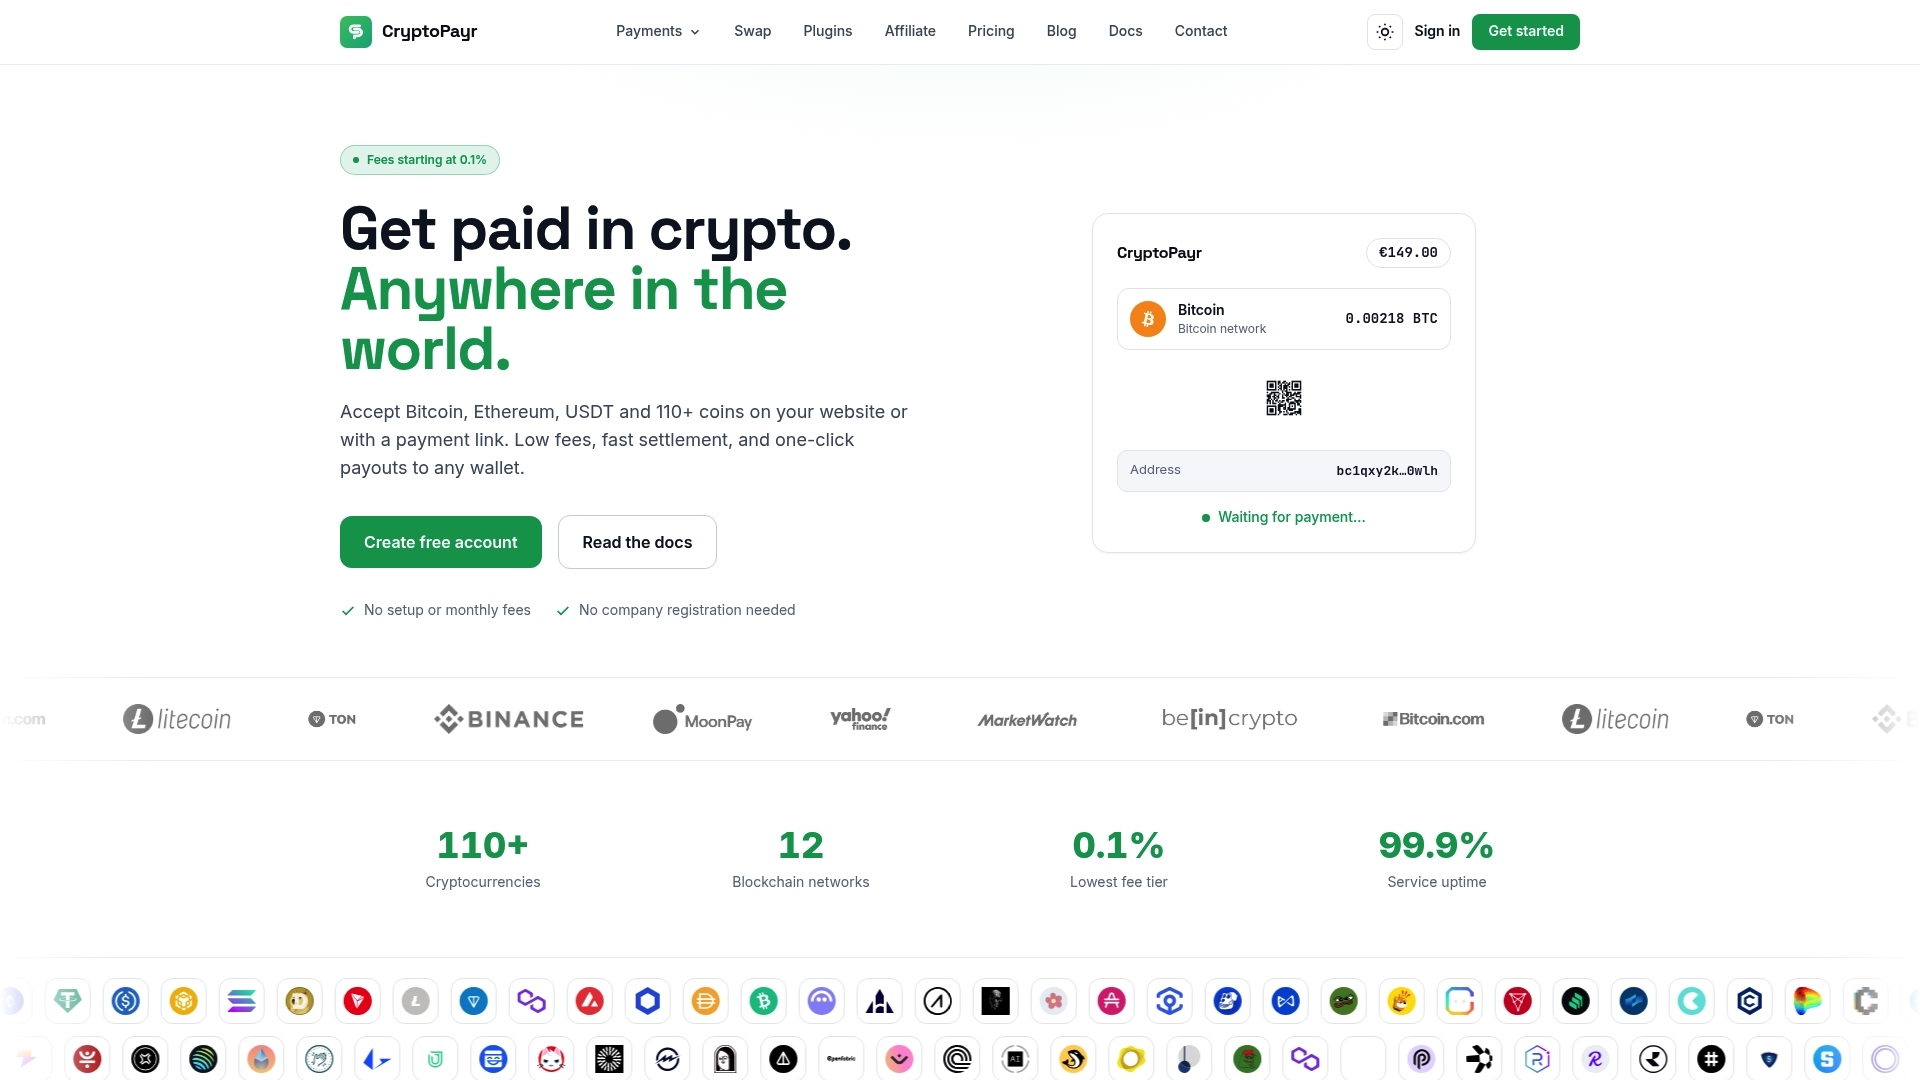
Start with the CryptoPayr crypto payment gateway to generate your first hosted checkout link or payment button. If you want the exact embed pattern for a Webflow button, walk through How to Add a Pay-With-Crypto Button to Any Website before you touch your site’s code. And if webhook reliability is what’s holding you back, the guide on webhooks and idempotency walks through building reconciliation that doesn’t double-charge or double-fulfill. For teams running a branded platform on top of the gateway, the white-label crypto payment option is worth a look too. Create an account and generate a test payment link today; it takes less time than reading this article did.
Sources
For deeper technical reference, see Webflow’s Stripe integration docs, ChainScore Labs’ blockchain integration guide, and the MakePay Webflow app repo for code-level examples. Developers optimizing a broader Webflow build may also find Webflow SEO automation resources useful alongside payment setup.
Recommended


