Magento 2 Developers: CryptoPayr, CLI and Webhook Security

Install a Magento 2 crypto payment extension or connect a hosted gateway checkout. Both routes get you accepting Bitcoin, Ethereum, and other coins in an afternoon rather than a sprint. If you want simpler bookkeeping, turn on fiat auto-conversion so every sale settles in dollars. If you’d rather hold crypto, pick a non-custodial plugin and set settlement accordingly. The rest of this guide walks through installation, configuration, testing, and the security details that keep production stores running smoothly.
TL;DR:
- Using a plugin or hosted checkout is suitable for most stores under a few hundred monthly transactions, with API integration reserved for complex checkout flows.
- Proper security measures include storing API keys securely, verifying webhook signatures, and implementing idempotency to avoid duplicate processing.
- Testing should involve sandbox transactions, webhook validation, and a low-value live order before fully going live to prevent errors.
- Common issues include webhook reachability, signature mismatches, and exchange rate handling, which require careful logging and verification.
- For quick setup, enable fiat auto-conversion and choose hosted checkout unless long-term crypto holding is the goal, then plan for thorough accounting support.
Table of Contents
Magento Extension vs. Hosted Checkout vs. API: Which Fits Your Store?
Three ways exist to get a Magento 2 store taking crypto, and the right one depends on how much control you want over the checkout experience versus how fast you need to launch.
A native Magento extension installs directly into your store’s codebase and lives inside the admin panel like any other payment method. You get full control over the checkout flow, branding stays consistent, and coin settings sit right next to your other payment configurations. The trade-off is maintenance. Every Magento upgrade means testing the extension again, and you’re responsible for keeping PHP dependencies current.
Hosted checkout hands the payment page to the gateway itself. Your customer clicks “pay with crypto,” gets redirected to a secure hosted page, completes the transaction, and bounces back to your order confirmation. This is the fastest path to production because there’s no custom UI to build and far less code touching your Magento instance. The downside: less control over the visual experience during the actual payment step.
API/custom integration gives developers the most flexibility, useful for marketplaces that need commission splitting or platforms with unusual checkout logic. It also demands the most engineering time and ongoing ownership of edge cases like failed callbacks or rate mismatches.
Here’s a rough decision checklist:
- Small or mid-size store, limited dev resources: hosted checkout or a plugin with minimal configuration.
- Need KYC-free acceptance for global customers: confirm the gateway doesn’t force identity verification before settlement.
- Running a marketplace with multiple sellers: look for built-in commission splitting rather than building it yourself.
- Enterprise catalog with custom checkout flows: API integration, backed by a developer who can own webhook logic long term.
- International seller avoiding currency conversion fees: a plugin that supports auto-convert to stablecoins reduces exposure without a bank intermediary.
Most stores under a few hundred orders a month do best starting with a plugin or hosted checkout, then migrating to API-level control only if volume or custom logic demands it.
Installing a Magento 2 Crypto Plugin: Step-by-Step
Before touching production, back up your database and files, and put the store into maintenance mode. If you’re on Magento Open Source or Adobe Commerce, confirm the extension’s compatibility with your exact version. Many crypto payment modules require Magento 2.4.x, and mismatched versions cause silent failures during compilation.
Here’s the sequence that works for most Magento 2 crypto payment extensions:
- Get the module files. Either pull them via Composer or drop them manually into
app/code/Cryptopay/PaymentGateway (the path the official CryptoPayr module uses, per its installation documentation).
- Run the upgrade command. From your Magento root:
php bin/magento setup:upgrade. This registers the new module’s database schema and dependency injection configuration.
- Deploy static content.
php bin/magento setup:static-content:deploy if you’re running production mode. Skip this step in developer mode.
- Flush the cache.
php bin/magento cache:flush clears stale configuration so the new payment method actually shows up in checkout.
- Enable the module in admin. Go to Stores > Configuration > Sales > Payment Methods and toggle the crypto gateway on.
- Paste your merchant credentials. Your gateway dashboard generates an API key and widget key. Both go into the extension’s configuration fields in Magento admin, never hardcoded into a template file.
- Set your webhook URL. Copy the callback endpoint Magento generates (usually something like
yourdomain.com/cryptopay/webhook/index) and paste it into your gateway’s dashboard. Save the signing secret it gives you back.
- Configure coin settings. Choose which cryptocurrencies to accept, set the payment cancel window (commonly a short time window), and enable QR code display at checkout, a feature most extensions support by default, similar to how Webkul’s crypto extension handles it with adjustable timeouts and payment reminder emails.
Pro Tip: Set your cancel window generously at first, a few minutes minimum. Bitcoin and Ethereum confirmation times vary with network congestion, and a window that’s too tight turns legitimate payments into false cancellations.
Once the module shows up as a live payment option at checkout, you’re ready to move into configuration hardening before letting real customers use it.
Securing Your Crypto Payment Setup: Keys, Webhooks, and Settlement
Never commit your API key or webhook signing secret to a Git repository, even a private one. Store credentials as environment variables or in Magento’s encrypted configuration table, not in a theme file or a .env sitting in a public directory. This single habit prevents the most common breach vector in plugin-based integrations.
Webhook validation matters just as much as key storage. When your gateway sends a payment confirmation callback, your Magento handler needs to verify the signature header against your stored secret before updating any order status. Blockpn’s Magento integration, for example, builds signed webhook callbacks with replay protection directly into its payment gateway module, so a captured or replayed callback can’t trigger duplicate fulfillment.
Idempotency is the other half of that equation. Your webhook handler should mark each callback as processed by its unique webhook ID, so if the gateway retries a notification (which happens more often than you’d think on flaky networks), your store doesn’t ship the same order twice or double-credit a refund.
A few more configuration details that trip up first-time integrators:
- Auto-convert vs. hold: merchants new to crypto generally do better enabling auto-conversion to stablecoins or fiat at settlement, since it removes price volatility from the accounting picture entirely.
- Memo and tag fields: coins like XRP or certain Cosmos-based tokens require a destination tag or memo. Missing this field can send funds to the right address but the wrong account.
- Decimal precision: Bitcoin transacts in satoshis (eight decimal places), while some tokens use different precision. Rounding errors here cause amount mismatches at reconciliation.
- Bind the exchange rate to the order. Capture the fiat price and exchange rate at the moment of checkout and save both on the order object. Don’t have your webhook handler re-fetch a live rate during confirmation, because prices can shift in the minutes between purchase and settlement.
Roughly 560 million people globally now hold or use cryptocurrency, a customer base large enough that getting these settlement details right isn’t a hypothetical concern for most mid-size online stores.
Testing Your Crypto Checkout Before Going Live
Skipping this step is how stores end up with stuck orders and confused customers on day one. Run through this sequence in staging first:
- Place a test order using your gateway’s sandbox mode or simulated callback tool, if the plugin provides one.
- Confirm the order transitions correctly through payment states: pending, then confirmed, then either complete or canceled if the window expires.
- Manually trigger a webhook failure (wrong signature, malformed payload) and verify your handler rejects it without corrupting order data.
- Test the cancellation path by letting a test order time out and confirming inventory releases properly.
- Once staging passes clean, run one low-value live transaction on production, real money, real network, to confirm the full settlement path works, whether that’s crypto landing in your wallet or converting to fiat as configured.
- Set up alerts for webhook failures and payment exceptions, and watch them closely for the first 72 hours after launch.
That last step catches more problems than any amount of staging testing, because live network conditions and real customer behavior surface edge cases sandbox environments rarely simulate.
Common Magento Crypto Payment Errors and How to Fix Them
When order status never updates after a customer pays, check webhook reachability first. Is the endpoint publicly accessible, or is a firewall rule blocking the gateway’s callback IP? Signature mismatches are the second most common cause. Confirm the signing secret in your gateway dashboard matches exactly what’s stored in Magento admin.
Amount mismatches usually trace back to exchange rate handling. If you’re not binding the rate snapshot to the order at checkout, a price movement between purchase and confirmation will make the received amount look “wrong” when it isn’t.
If the payment method doesn’t appear at checkout at all:
- Confirm the module is enabled under Stores > Configuration.
- Run
php bin/magento module:status to verify it’s active, not just installed.
- Recompile with
php bin/magento setup:di:compile and flush cache again.
- Check for version conflicts with other payment extensions competing for the same checkout hooks.
For anything that persists past these checks, pull your webhook logs and Magento exception logs before contacting gateway support. Support teams resolve tickets faster with timestamps and payload samples than with a description of symptoms.
CryptoPayr’s Magento Support: What’s Included
CryptoPayr’s gateway plugs into Magento 2 through the same install pattern covered above, with support for over 110 cryptocurrencies including Bitcoin and Ethereum, plus plugin options for other platforms like PrestaShop, OpenCart, and CS-Cart if you’re running a multi-storefront operation.
Key specifics for implementers:
- Transaction fees start low, with no KYC requirement slowing down onboarding.
- Merchants choose between holding crypto directly or auto-converting to stablecoins at the point of settlement.
- The plugin installs under the standard
app/code path and connects to your merchant dashboard using an API key and widget key, generated once your account is active.
- Documentation covers webhook setup, coin configuration, and the same signature validation practices outlined earlier in this guide.
What I’d Actually Do First
If speed and simple accounting matter more than holding crypto long term, enable fiat auto-conversion and go with hosted checkout. It’s the fewest moving parts and the least that can go wrong in week one. If holding crypto is the point, budget time for accounting support before launch, not after, and pick a non-custodial plugin so you control the wallet.
Either way, the sequence is the same: open a merchant account, install the plugin in staging, and run one low-value test order before anything touches your live storefront.
— Dustin
Ready to Accept Crypto Payments on Your Magento Store?
Cryptopayr gets you live faster than building a custom integration, because the plugin, hosted checkout, and API are already built and documented for Magento 2, with no lengthy KYC process standing between you and your first transaction. You get over 110 supported coins, fees starting at 0.1%, and the choice to hold crypto or auto-convert to stablecoins the moment a sale settles.
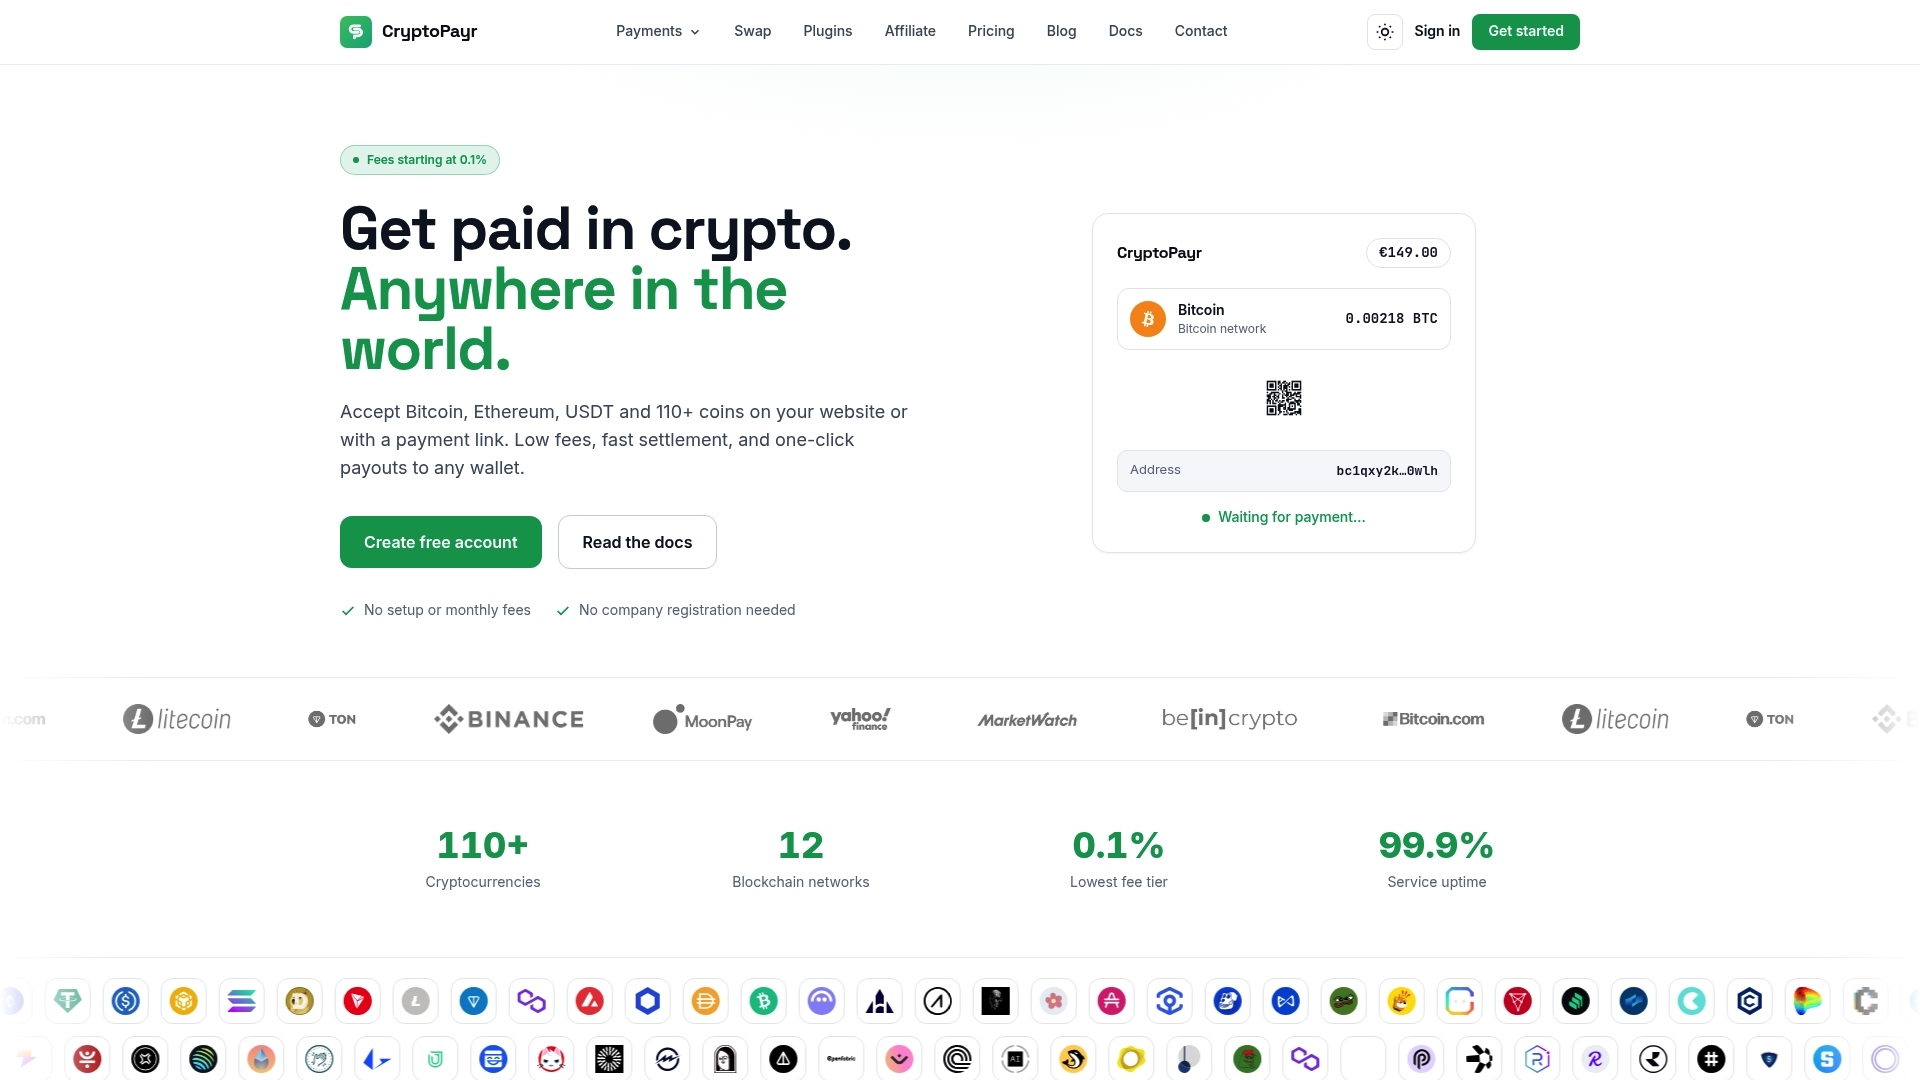
Everything covered above, the webhook validation, the key storage, the settlement options, works the same way whether you’re installing the plugin yourself or connecting through the hosted checkout. If you’re ready to move past staging, set up your gateway and connect your first store today, or check the full list of supported coins before you configure your admin settings.
Sources
For code-level accuracy, work directly from the plugin repositories: the CryptoPayr Magento module documents install paths and CLI commands, while Blockpn’s Magento integration details webhook signing patterns worth studying regardless of which gateway you choose. For market context, Statista’s global crypto user data puts the size of the customer base in perspective.
Recommended


