
The fastest, most reliable way to accept MetaMask payments is a hosted, wallet-agnostic checkout integrated server-side. For most merchants, that means using a gateway like WalletConnect Pay or CryptoPayr’s hosted gateway rather than wiring up raw on-chain transfers yourself.
Here is why that recommendation holds for production use:
- Hosted checkout handles wallet connection, transaction signing, status polling, and redirect logic for you. Your server creates a payment object, redirects the buyer, and verifies the result via a status endpoint. Done.
- Direct on-chain payments (sending ETH or tokens straight to your address) work fine for low-volume or experimental projects, but you own every verification step: confirmations, reorg handling, refund logic, and bookkeeping.
- Immediate next step: if you choose a hosted gateway, register as a merchant to get your API key and merchant ID. If you go direct, prepare a server route that reads on-chain state and never trusts front-end parameters alone.
Pro Tip: Start with a hosted gateway in sandbox mode before touching mainnet. You will catch webhook failures, redirect edge cases, and state-machine bugs without risking real funds.
Key Takeaways
A hosted, wallet-agnostic checkout with server-side verification is the most reliable way to accept MetaMask payments in production, reducing integration complexity while providing audit trails, refund support, and settlement flexibility.
| Point |
Details |
| Use hosted checkout for production |
A gateway handles verification, webhooks, and settlement so you avoid building that infrastructure yourself. |
| Always verify server-side |
Call the gateway status endpoint and confirm status and isFinal before fulfilling any order. |
| Test on testnets first |
Run every flow in sandbox or testnet mode, including failed and duplicate webhook scenarios, before going live. |
| Plan your settlement method |
Auto-convert to stablecoin to eliminate volatility risk; keep crypto only if your treasury or supplier payments are crypto-denominated. |
| Cryptopayr for turnkey integration |
CryptoPayr offers no-KYC onboarding, 110+ coins, WooCommerce and OpenCart plugins, and fees starting at 0.1%. |
Table of Contents
MetaMask is a browser extension and mobile wallet that holds private keys and signs Ethereum-compatible transactions. When a buyer “pays with MetaMask,” they are authorizing a transfer of ETH, USDC, or another EVM token from their wallet to a recipient address. The mechanics differ significantly depending on which integration path you choose.
On-chain direct transfer is the simplest model conceptually. The buyer opens MetaMask, confirms a transaction to your merchant address, and the funds move on-chain. Your server must then watch the blockchain, count confirmations, and reconcile the amount. No intermediary, but no safety net either.
Redirect-based checkout (the gateway model) adds a coordination layer. According to the WalletConnect Pay integration guide, the sequence runs like this:
Your merchant backend POSTs to /v1/merchant/payment with the order amount and redirect URLs. The gateway returns a gatewayUrl. You redirect the buyer there. The buyer connects MetaMask (or any WalletConnect-compatible wallet), signs the transaction inside the checkout portal, and the gateway redirects them back to your success URL with a payment_id. Your server then calls GET /v1/merchant/payment/{id}/status to confirm the authoritative result before fulfilling the order.
In-page Web3 button sits between the two. A JavaScript library like ethers.js or Web3.js prompts MetaMask directly in the browser, the buyer signs, and a transaction hash comes back. The problem: a transaction hash is not proof of finality. Your server still needs to verify on-chain confirmations or call a status endpoint, and you still need to handle reorgs and failed transactions.
The component responsible for each step matters:
- Browser: renders the checkout UI, triggers wallet prompt
- MetaMask wallet: holds keys, signs the transaction
- Gateway / facilitator: coordinates the session, verifies payment, manages redirects
- Merchant server: creates the payment object, stores
paymentId, calls the status endpoint, fulfills the order
- Blockchain: records the final on-chain state
Never treat a front-end event as ground truth. The blockchain and the gateway status endpoint are the only authoritative sources.
Which integration approach fits your project?
The right path depends on your engineering resources, compliance needs, and transaction volume. Here is how the main options compare.
| Approach |
Complexity |
UX maturity |
Refund support |
Settlement options |
Custody |
| Hosted checkout (gateway) |
Low |
High |
Gateway-managed |
Crypto, stablecoin, fiat |
Non-custodial via gateway |
| In-page Web3 button (ethers.js / Web3.js) |
Medium |
Medium |
Manual |
On-chain only |
Self-custody |
| Direct on-chain transfer |
High |
Low |
Manual |
On-chain only |
Self-custody |
| E-commerce plugin (WooCommerce, OpenCart) |
Very low |
High |
Plugin-managed |
Depends on gateway |
Non-custodial via gateway |
Hosted checkout (recommended for production): WalletConnect Pay provides a single API integration that accepts crypto and stablecoins from any wallet, including MetaMask, with merchant onboarding, API keys, a unified checkout portal, status endpoints, and sandbox testing. You get audit trails, server-side verification hooks, and standardized redirects without building any of that yourself. Merchant onboarding requires a merchant ID and API key, which the gateway issues during registration.

In-page Web3 button: Libraries like ethers.js or Web3.js let you embed a “Pay with MetaMask” button directly in your page. Open-source components such as PayWithMetaMaskButton handle the front-end prompt. The trade-off is real: you own verification, refunds, and reporting entirely. Acceptable for demos or internal tools; risky for customer-facing commerce.
Direct on-chain transfer: The buyer sends funds straight to your address. Zero gateway dependency, maximum control, maximum operational burden. Works for developers who are comfortable reading on-chain state and building their own reconciliation pipeline.
E-commerce plugins: If you run WooCommerce or OpenCart, a plugin is the lowest-friction path. The plugin wraps the gateway API, so you still get server-side verification and settlement options without writing integration code. CryptoPayr publishes plugins for both platforms.
One point worth emphasizing: WalletConnect Pay’s wallet-agnostic approach means buyers are not locked into MetaMask specifically. Any WalletConnect-compatible wallet works, which broadens your addressable customer base without extra integration work.
Also worth clarifying: the MetaMask Card is a consumer debit card that lets users spend crypto via Mastercard rails. It is not a merchant acceptance product. Implementing a gateway or on-chain flow is what gives you the ability to receive payments, not the MetaMask Card.
Step-by-step: implementing a hosted checkout integration
This is the path to follow for any production e-commerce or SaaS use case.
-
Register as a merchant with your chosen gateway (WalletConnect Pay or CryptoPayr). You will receive a merchant ID and API key. Store both securely in environment variables, never in client-side code.
-
Create a payment object on your server. POST to the gateway’s payment creation endpoint with the order amount, currency, and your success/error redirect URLs. The response includes a gatewayUrl and a paymentId. Persist paymentId in your database tied to the order record before you do anything else.
-
Redirect the buyer to gatewayUrl. The hosted checkout portal handles wallet connection, MetaMask signing, and transaction broadcasting. Your server is idle during this step.
-
Handle the return redirect. The gateway sends the buyer back to your success URL with payment_id as a query parameter. Do not fulfill the order here. The redirect parameter is a hint, not proof.
-
Verify server-side. Call GET /v1/merchant/payment/{id}/status using the stored paymentId. Check that status is succeeded and isFinal is true before marking the order paid and releasing the product or service.
-
Handle webhooks. Configure your webhook endpoint in the gateway dashboard. The gateway will POST payment state changes to your server. Validate the webhook signature on every incoming request and use database-level idempotency so duplicate deliveries do not double-fulfill orders.
Production checklist before go-live:
- HTTPS on all callback and webhook URLs
paymentId stored with the order before redirect- Status endpoint called server-side before fulfillment
- Webhook signature validation implemented
- Idempotency key or database transaction guarding fulfillment logic
- Fallback polling for orders stuck in
processing state
Testing checklist:
- Run all flows in sandbox/testnet mode first
- Simulate a failed transaction and confirm the order stays unpaid
- Simulate a timeout and confirm the polling fallback triggers
- Verify that duplicate webhook deliveries do not create duplicate fulfillments
- Test the
processing → succeeded and processing → failed state transitions explicitly
Pro Tip: Never trust redirect parameters to confirm payment. A buyer can manipulate query strings in the browser. The only source of truth is the gateway status endpoint called from your server with your API key.
For teams that want a direct MetaMask integration without a traditional gateway redirect, MetaMask’s Smart Accounts Kit documents an x402 seller flow. This approach uses Express middleware to advertise payment requirements and verify delegation payments through a MetaMask facilitator endpoint.
The architecture works like this: your Express server registers paymentMiddleware on protected routes. When a buyer hits a protected endpoint without a valid payment header, the middleware responds with a 402 Payment Required status and a machine-readable requirements object. The buyer’s client constructs a payment payload, delegates spending through the MetaMask facilitator, and retries the request with a payment header. The middleware verifies the delegation and settles the payment to your payout address.
The x402 pattern is particularly useful for machine-to-machine payments and API monetization — scenarios where a traditional redirect-based checkout creates friction. The ERC-7710 delegation scheme lets a buyer authorize a facilitator to spend on their behalf, so the payment can complete without a browser redirect at all.
Here is a representative snippet based on the x402 seller guide:
import express from "express";
import { paymentMiddleware } from "@x402/express";

const app = express();

app.use(
  paymentMiddleware({
    payToAddress: "0xYourMerchantPayoutAddress",
    facilitatorClient: "https://facilitator.metamask.io",
    scheme: "erc7710",
    amount: "0.01",
    asset: "USDC",
  })
);

app.get("/protected-resource", (req, res) => {
  res.json({ data: "paid content here" });
});

app.listen(3000);
The sequence in production:
- Register your facilitator signer set and include facilitator addresses in the payment requirements object.
- Deploy the middleware on routes you want to monetize.
- The middleware advertises requirements on the first unauthenticated request.
- The buyer’s client delegates via the facilitator and retries with a payment header.
- The middleware verifies the delegation proof and settles to
payToAddress.
For a working session flow example, the Agent-swarm shows how payment sessions are constructed and verified end-to-end.
Pro Tip: The two most common misconfiguration points are the facilitator client URL and the payout address. Use the correct network-specific facilitator URL for testnet vs. mainnet, and replace the placeholder 0xYourMerchantPayoutAddress with a real address you control before any live testing. A wrong facilitator URL produces silent failures that are hard to trace.
Security, verification, and testing checklist
Shipping a crypto payment integration without a rigorous verification layer is the fastest way to lose money to fraud or implementation bugs. Here is what must be in place before you go live.
Verification requirements:
- Never fulfill an order based on a redirect URL parameter or a front-end transaction hash alone
- Always call the gateway status endpoint server-side and check both
status and isFinal fields
- For direct on-chain flows, wait for an appropriate number of block confirmations before considering a payment final (the exact number depends on the chain and your risk tolerance)
- Verify the recipient address and token amount on-chain match what the order expected
- Guard against replay attacks by storing and checking
paymentId or transaction nonces
Blockchain-specific concerns:
- Chain reorganizations can invalidate a transaction that appeared confirmed. Gateways with finality guarantees handle this for you; direct on-chain integrations do not.
- Check that the token contract address matches the expected asset. A buyer could send a worthless token to your address if you only check that a transfer occurred.
- For EVM chains beyond Ethereum mainnet, confirm the chain ID matches what your integration expects.
Testing steps (ordered):
- Run every flow on a testnet (Sepolia for Ethereum, or the gateway’s sandbox environment) before touching mainnet.
- Validate webhook signatures using the gateway’s signing key on every test delivery.
- Simulate a
processing → failed transition and confirm the order stays unpaid.
- Simulate a
processing → expired transition and confirm the buyer sees a clear error.
- Send a duplicate webhook delivery and confirm your idempotency logic blocks double-fulfillment.
- Run a concurrency test: two simultaneous webhook deliveries for the same
paymentId.
Pro Tip: Set up monitoring alerts for two specific failure modes: webhook deliveries that your server returns a non-200 response to (the gateway will retry, but you need to know), and discrepancies between gateway-reported settlement amounts and what you see on-chain. Both are early signals of integration bugs or, in rare cases, attempted fraud.
Settlement, fees, refunds, and bookkeeping
Crypto payment operations differ from card payments in ways that catch merchants off guard. Plan for these before launch.
Settlement options and trade-offs:
- Keep crypto on-chain: maximum speed, zero conversion cost, but you absorb price volatility between receipt and spend. Works well for businesses that pay suppliers in crypto or hold crypto as a treasury asset.
- Auto-convert to stablecoin (USDC, USDT): eliminates volatility risk, adds a small conversion spread, and simplifies accounting since the unit of account stays stable. Most hosted gateways support this natively.
- Fiat payout: the gateway converts and wires USD to your bank. Highest friction, highest fees, but the simplest accounting. Conversion spreads and withdrawal fees vary by gateway.
CryptoPayr’s accepted coins and settlement options cover 110+ cryptocurrencies with auto-conversion available, which removes the volatility problem for merchants who want stable revenue.
Fee considerations:
- Gateway transaction fees apply per payment (CryptoPayr starts at 0.1%).
- Network gas fees are paid by the buyer on most EVM chains, but factor them into your pricing for small-value transactions where gas can exceed the payment amount.
- Stablecoin-to-fiat conversion adds a spread on top of the gateway fee. For bookkeeping purposes, record the gross amount received, the fees deducted, and the net settlement separately.
- For subscription billing, recurring gas costs compound. Stablecoin settlement or a gateway that batches payouts reduces this friction. Connecting your gateway to accounting software via a tool like Zoho Books payment gateway integration can automate reconciliation.
Refunds:
On-chain payments have no chargeback mechanism. Refunds are manual transfers from your wallet back to the buyer’s address. For hosted gateways, check whether the gateway provides a refund API or whether you handle it manually. Either way, document the refund transaction hash, the original paymentId, the amount, and the timestamp. Your refund policy should state clearly that refunds are processed in the original cryptocurrency at the current exchange rate, not the rate at the time of purchase, unless you hold the asset.
Bookkeeping records to keep:
- Transaction hash for every payment received
paymentId from the gateway- Settlement currency and the exchange rate at time of settlement
- Gas fees paid (if applicable)
- Timestamp of on-chain confirmation
- Refund transaction hashes and corresponding original payment references
When hosted checkout is the right call vs. direct on-chain acceptance
The conventional wisdom in crypto developer circles is that direct on-chain payments are “purer” and more decentralized. That framing is accurate but often irrelevant for merchants. Purity does not help you when a buyer’s transaction is stuck in processing at 2 AM and your support queue is filling up.
For production e-commerce and SaaS, hosted checkout wins on almost every operational axis: you get server-side verification endpoints, webhook delivery, audit trails, and settlement options without building any of it. The engineering time you save is better spent on your actual product.
Direct on-chain flows make sense in specific situations: you have a crypto-native team comfortable with blockchain state management, your use case is API monetization or machine-to-machine payments (where the x402 pattern fits naturally), or you need zero gateway dependency for sovereignty reasons. Those are real scenarios, but they are the minority.
The signals that should push you toward CryptoPayr specifically: you want no-KYC onboarding, you need to accept more than a handful of coins (110+ supported), you want plugins for WooCommerce or OpenCart without writing integration code, or you want auto-conversion to stablecoins without building a conversion pipeline. If any of those apply, the engineering calculus is straightforward.
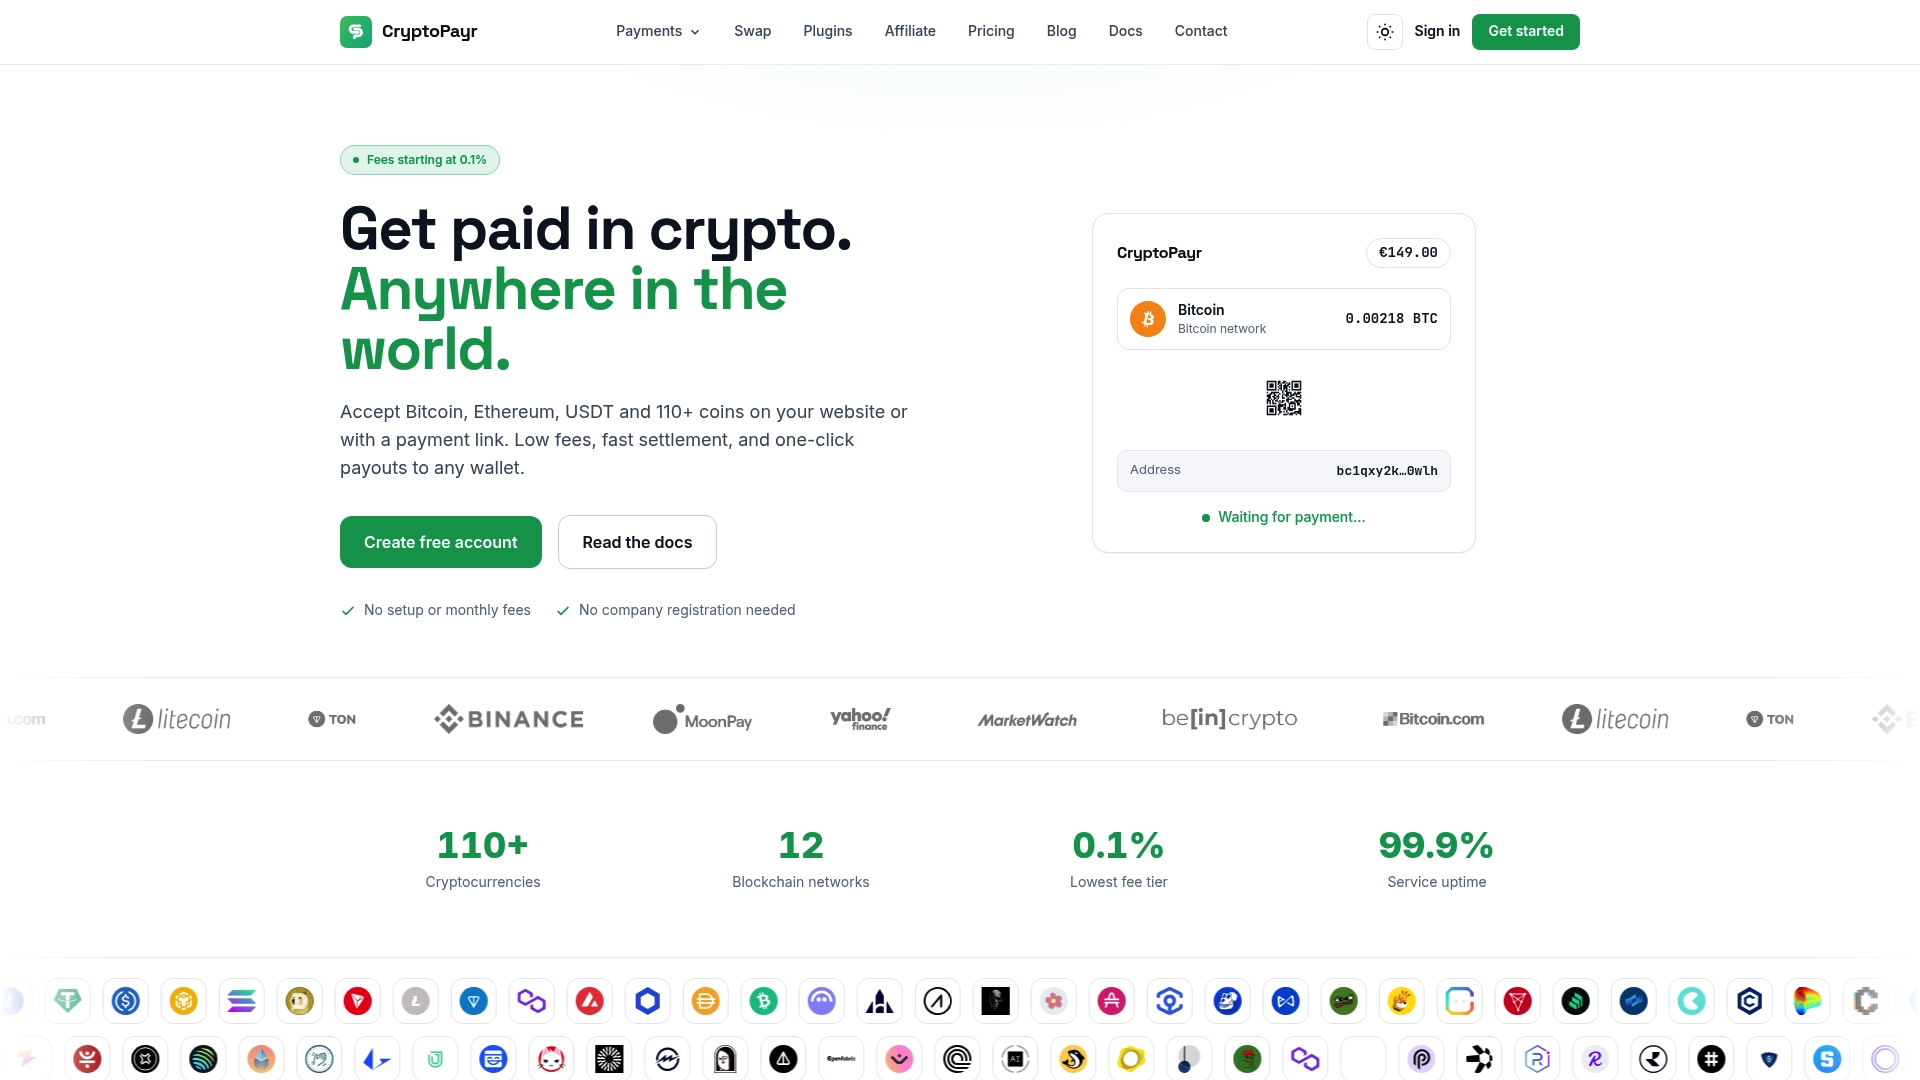
If the integration steps above sound like the right path but you want to skip building the verification layer, webhook handling, and settlement logic from scratch, CryptoPayr’s hosted gateway covers all of it.
For WordPress and WooCommerce merchants, the WooCommerce crypto payment plugin installs in minutes. OpenCart merchants have a dedicated plugin as well. Developers who prefer code-first integration can use the Node.js SDK to call the create-payment endpoint, handle redirects, and verify status server-side with minimal boilerplate. Auto-conversion to stablecoins is available if you want to eliminate volatility without managing your own conversion pipeline.
Sign up at CryptoPayr, grab your API key, and run your first test payment in sandbox mode before you touch mainnet.
Sources
This article is general information, not a substitute for advice from a qualified financial advisor. Consult a qualified financial professional about your own circumstances before acting on anything here.
Recommended