How to Accept TON Payments: A Developer and Merchant Guide
The fastest way to accept TON payments is a dedicated crypto payment gateway or the TON Pay SDK with TON Connect. Both get you to production faster than building against a raw wallet. If you only need to receive occasional payments, a direct wallet address works, but it skips the automation that makes crypto checkout usable at volume. Whatever route you choose, two things aren’t optional: webhook-driven order fulfillment and testnet validation before you touch mainnet.
- Fastest to launch: A gateway like Cryptopayr, with hosted checkout and webhooks built in.
- Most control: TON Pay SDK plus TON Connect for custom web or Telegram Mini App flows.
- Simplest, lowest volume: A direct wallet address, with no automated reconciliation.
- Non-negotiable: Test every flow on testnet before switching to mainnet.
Key Takeaways
Accepting TON payments reliably requires a gateway or the TON Pay SDK, verified webhooks with HMAC-SHA256, and full testnet validation before mainnet launch.
| Point |
Details |
| Choose the right model |
Use a gateway or TON Pay SDK for production; reserve direct wallets for occasional, low-volume receipts. |
| Test on testnet first |
Validate transfers, webhooks, and edge cases like mismatched amounts before switching to mainnet. |
| Verify every webhook |
Check the X-TonPay-Signature header with HMAC-SHA256 and reject anything over plain HTTP. |
| Build in idempotency |
Use the transaction reference to prevent duplicate webhooks from double-fulfilling orders. |
| Cryptopayr as the turnkey path |
Cryptopayr offers no-KYC onboarding, multiple coins, and hosted checkout for merchants who want TON live fast. |
Table of Contents
What Counts as Accepting TON Payments?
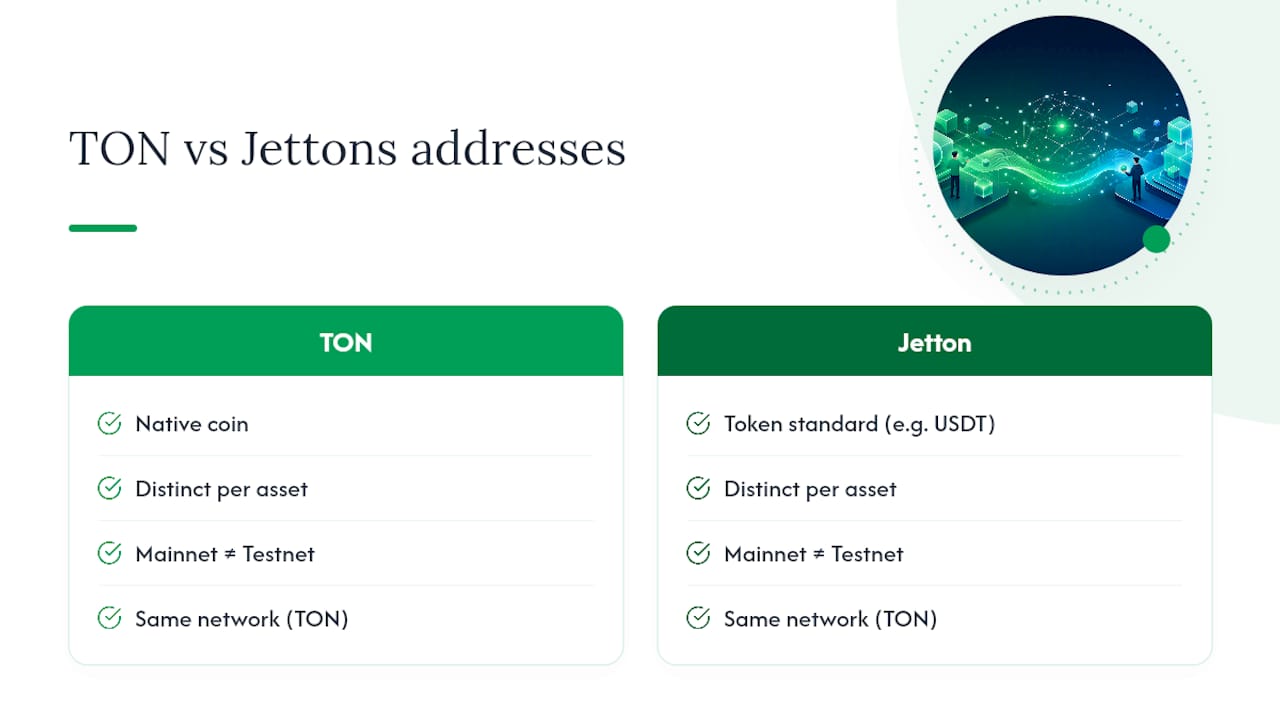
Toncoin (TON) is the native coin of the TON blockchain. When merchants talk about accepting “TON payments,” they usually mean two things: TON itself, and Jettons, the token standard behind assets like USDT on TON. Both move on the same network and settle in seconds, but they aren’t interchangeable at the code level.

Each asset has its own contract address, and that address differs between testnet and mainnet. A common early mistake is hardcoding a mainnet USDT jetton master address while still developing against testnet, which produces transactions that simply vanish from your test wallet. According to TON’s payments overview, merchants can accept TON and Jettons worldwide with no intermediaries, which is the appeal, but also why address configuration deserves its own line item in your setup checklist.
Why Should an E-Commerce Business Accept TON?
The math favors TON on cost and speed. Card networks and cross-border ACH transfers routinely take days and carry fees that stack up fast on international sales. TON transactions settle quickly with very low network fees. The TON Foundation has reported performance tests showing the network can handle very high transaction throughput, which supports fast, low-cost consumer payments at scale.
Beyond speed, three benefits matter most for merchants:
- No chargebacks. Once a transaction confirms on-chain, it’s final, which removes the chargeback fraud that plagues card processing.
- New customer reach. Crypto-native shoppers and the growing base of Telegram Mini App users increasingly expect crypto checkout as an option, not a novelty.
- Settlement flexibility. You can hold TON, swap it, or auto-convert to a stablecoin the moment it lands, so volatility exposure is a choice, not a default.
Which Integration Method Fits Your Business?
Three models cover almost every real-world case, and Stripe’s guidance for businesses accepting crypto frames the trade-off well: platforms reduce operational burden, direct wallet acceptance increases it.
- Payment gateway. Fastest path to production. You get a hosted checkout UI, optional auto-conversion to stablecoins, and webhooks already wired up for order fulfillment. This is the right call for most e-commerce and SaaS businesses that want to sell, not build payment infrastructure.
- TON Pay SDK with TON Connect. Built for teams that want native control over the checkout experience, whether that’s a custom web app or a Telegram Mini App. You write more code, but you own the entire flow, from wallet connection to transaction tracking.
- Direct wallet address. Minimal setup, works for a freelancer taking occasional payments. No webhooks, no reconciliation, no refund tooling. Every confirmation gets checked and matched manually.
For production-grade e-commerce, a gateway or the TON Pay SDK wins on reliability and reduces the operational load on your team.
How Do You Build the Payment Integration?
Start on testnet, always. Configure your environment so TON_CHAIN and MERCHANT_WALLET_ADDRESS are set per environment, and never let a testnet build accidentally point at a mainnet wallet. Switch to mainnet only after every flow has passed on testnet, including edge cases.
- Create the transfer. Call
createTonPayTransfer with the required fields: amount, asset, senderAddr, and recipientAddr. According to TON Pay’s transfer documentation, the function returns a message, a reference, and a bodyBase64Hash. Providing an API key is optional, but it unlocks dashboard visibility and webhook notifications, which is the difference between manually watching a block explorer and getting notified automatically.
- Build the client UI. Use the
TonPayButton component or the useTonPay hook, or wire up a TON Connect wallet flow directly if you need more control over the connect experience. TON Pay’s developer toolkit documents both React and vanilla JS components alongside TON Connect integration.
- Persist before you respond. Your server should generate the transfer payload, save the
reference and bodyBase64Hash, and only then return the message to the client. Skipping this order invites race conditions where a webhook arrives before your database knows the transaction exists.
- Handle webhooks properly. Webhook endpoints must be HTTPS only. Verify the
X-TonPay-Signature header using HMAC-SHA256 before trusting any payload, and return a 2xx response only after validation succeeds. Build idempotency into your handler using the reference value, since TON Pay’s webhook guidance notes that retries and duplicate deliveries happen in production.
A payment integration is only as trustworthy as its webhook handler. If you can’t prove a signature is valid or a transaction hasn’t already been processed, you don’t have a payment system, you have a guess.
Pro Tip: Log every webhook payload with its signature verification result before you process anything. When something goes wrong at 2 a.m., that log is the fastest path to a root cause.
How Do You Secure and Reconcile TON Transactions?
Signature verification is the foundation, not a nice-to-have. Every webhook must pass HMAC-SHA256 validation against the X-TonPay-Signature header, and your endpoint should reject anything arriving over plain HTTP outright.
- Verify every webhook signature before touching your database or fulfillment logic.
- Use the transaction
reference as your idempotency key so a duplicate webhook never double-fulfills an order.
- Enable the API key if you want dashboard visibility and automatic receiving wallet management, since it removes a layer of manual monitoring.
- Plan for mismatched amounts and unsupported tokens ahead of time. A gateway can automate swaps and refunds for these edge cases; a bare wallet integration leaves you handling them by hand.
Pro Tip: Build your refund and mismatch-handling logic before launch, not after your first support ticket. Retrofitting it under pressure is how mistakes get shipped.
What Do Fees and Settlement Actually Cost You?
Two fee lines apply here, and they’re easy to conflate. The gateway charges its own processing fee, separate from the on-chain network fee, which on TON is close to negligible. Cryptopayr’s fees start at 0.1%, well under what card processors typically charge for cross-border transactions.
Settlement is your call: hold TON and accept price exposure, or auto-convert to a stablecoin the moment funds arrive to lock in value immediately. Neither is wrong; it depends on your treasury tolerance for volatility.
- Record the transaction hash, sender wallet address, and timestamp for every payment.
- Capture the conversion rate at the moment of settlement, not at checkout, for accurate accounting.
- Keep gateway fee and network fee as separate line items in your books for clean audit trails.
How Do You Test Before Going Live?
Every flow needs a pass on testnet before mainnet gets touched, and that includes the failure paths, not just the happy ones.
- Run full token transfers on testnet, including both TON and any jettons you plan to accept, and confirm webhook delivery end to end.
- Deliberately send a mismatched amount or an unsupported jetton to see how your order system reacts. Stripe’s guidance for crypto-accepting businesses recommends testing exactly these edge cases, since real customers will eventually trigger them.
- Check signature verification failure handling. Send a webhook with a bad signature and confirm your endpoint rejects it instead of silently processing it.
- Watch for the most common integration bugs: testnet addresses left in a mainnet build, wrong asset constants for jettons, or a missing
recipientAddr when you’re not using an API key.
- When something breaks, use dashboard logs if you’ve enabled an API key, and correlate issues using the stored
reference value from step one of your integration.
What Actually Matters Once You Start Accepting TON
Most of the advice floating around treats every integration option as roughly equivalent, as if the choice between a gateway, the TON Pay SDK, and a bare wallet address is mostly a matter of preference. It isn’t. For a business actually processing orders, wallet-only acceptance is a liability disguised as simplicity. It looks easy on day one and turns into manual reconciliation, missed webhooks that were never webhooks, and refund headaches by week three.

The conventional wisdom also underrates how much operational weight webhook verification and idempotency carry. These aren’t advanced features, they’re the difference between a payment system and a transaction log you check by hand. Any team skipping HMAC verification because “it’s just an extra step” is trading a few hours of engineering time for hours of production firefighting later.
For most businesses, the right first move is a gateway or the TON Pay SDK, full stop. If your priority is speed to market without touching KYC paperwork, that’s exactly where Cryptopayr fits: a no-KYC gateway built for merchants who want TON acceptance working this week, not next quarter.
— Dustin
Get TON Payments Running Without the Integration Overhead
Skipping months of SDK work is the real advantage here.
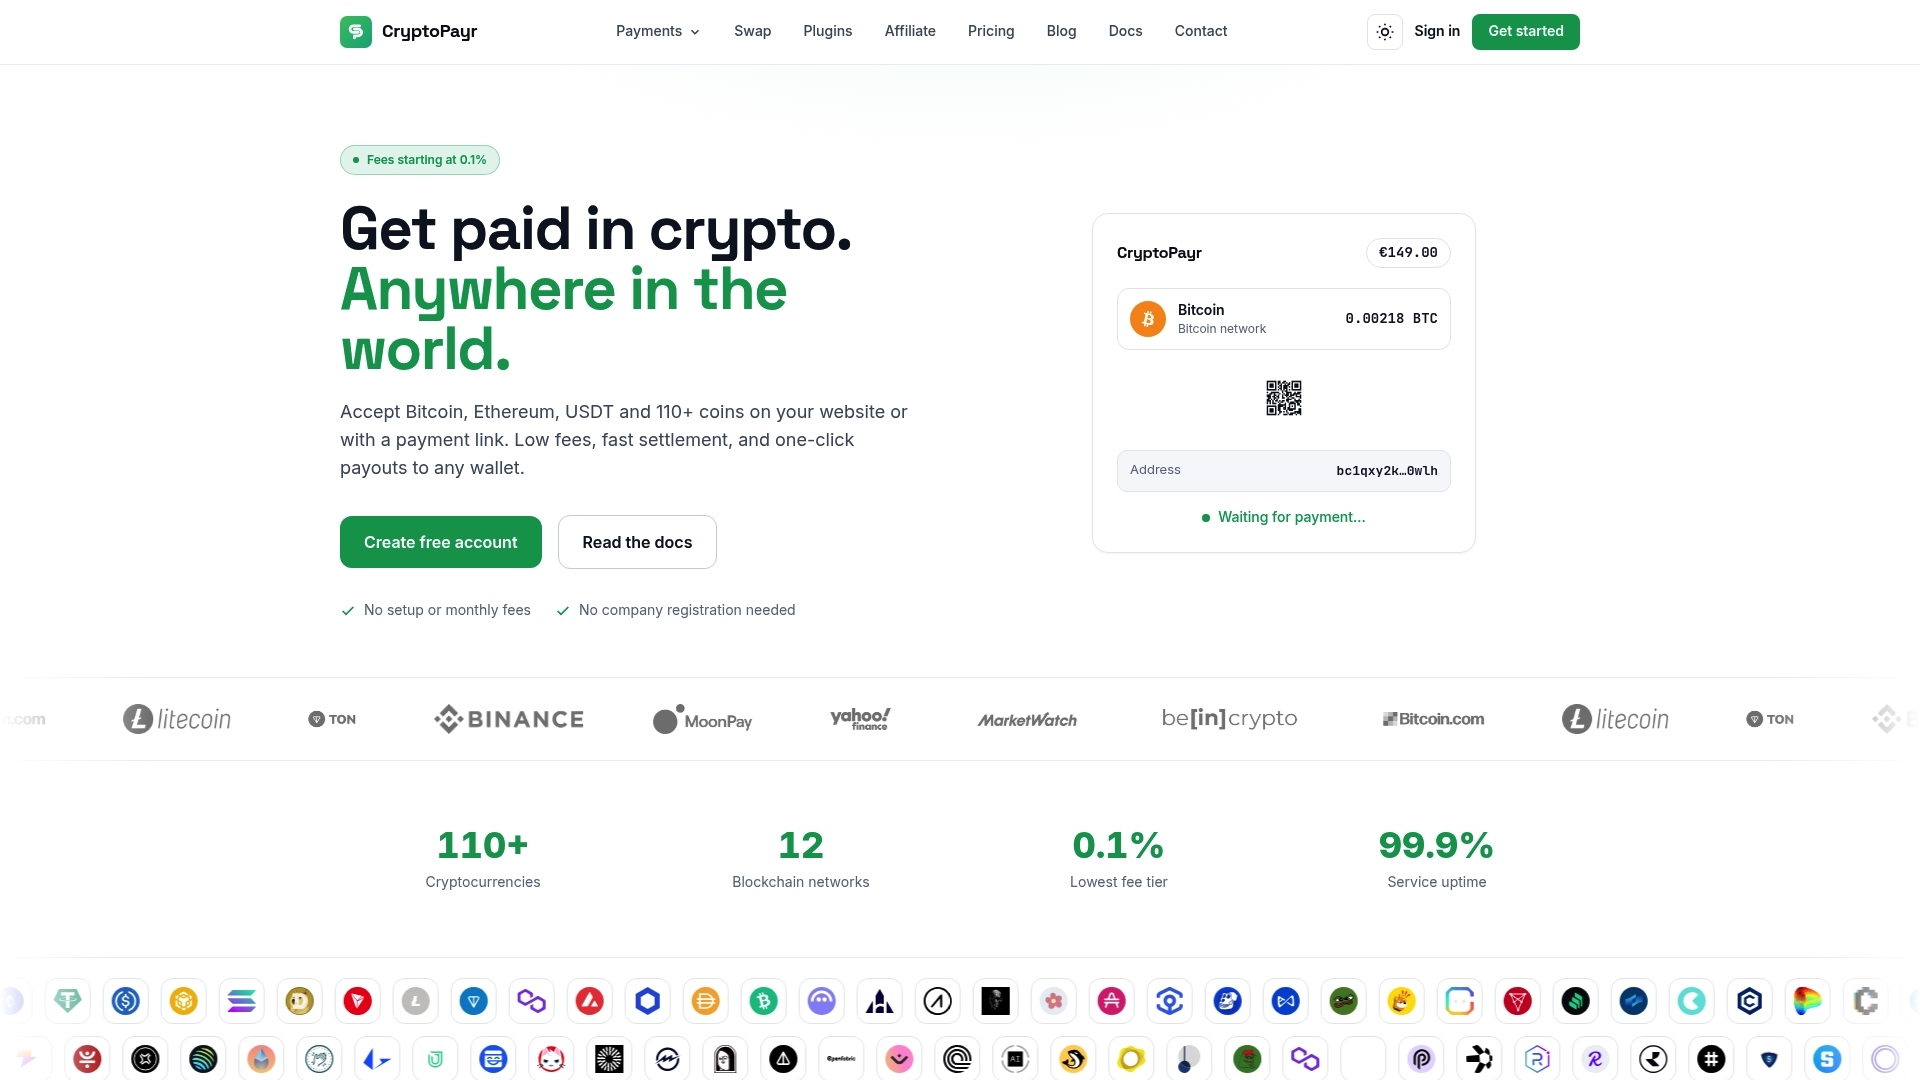
You get hosted checkout, e-commerce plugins, a full API, and mass payout support without writing your own webhook handler or signature verification logic from scratch. If your brand needs the checkout experience to feel entirely your own, the white-label gateway route lets you run Cryptopayr’s infrastructure under your own name. Marketplaces and platforms handling commission splits between multiple sellers get dedicated support through the platform product.
Every transaction shows up in a dashboard with webhook management already built in, so you skip the manual reconciliation that trips up direct wallet setups. If you’re running WooCommerce or a similar storefront, the plugin library gets you live in an afternoon. Check out the gateway product page and start your integration today.
Sources
Recommended


